")


?")

Quick Summary: Forget the “artistic genius” myth. Fashion sketching is a mechanical skill, not a divine gift. You don’t need a $2,000 MacBook or a degree from FIT to start. Use a 9-head croquis template, grab a 0.5mm mechanical pencil, and focus on garment movement rather than facial features. I wasted $300 on “professional” markers I never used—don’t be like me.
Let’s debunk some nonsense about how to fashion sketch today. If you scroll through Instagram—and believe me, with 120k followers, I spend way too much time there—you see these ethereal, perfect illustrations that look like they belong in a museum. It makes you feel like if you can’t draw a photorealistic human eye, you have no business designing a sundress. That is total garbage.
I remember sitting in a slightly damp, gross hotel room in Las Vegas back in November 2025. I had this idea for a layered linen skirt, but I couldn’t explain it to my seamstress over the phone. I tried to sketch it on a napkin, and it looked like a lopsided pyramid. My friend Sarah, who was with me, literally laughed out loud. “Maria,” she said, “that looks like a toddler’s drawing of a tent.” It was humiliating. But it also made me realize that practical sketching is just a tool for communication, not a high-art competition.
To be honest, most of the “expert” advice you find online is designed to sell you expensive Masterclasses. that said,, after three years of trial, error, and a lot of erased paper, I’ve realized that the technical side is actually quite boring and predictable. And that’s good news for you.
The 9-Head Frame: Why Your Sketches Look Weird
The biggest mistake beginners make is trying to draw a person with normal proportions. If you draw a human as they actually look, the clothes will look frumpy on paper. In the fashion world, we use something called the nine-head rule. Essentially, you imagine the body is nine heads tall instead of the average seven. It’s unrealistic, borderline creepy, but it makes the fabric “hang” correctly in the illustration.
I used to fight this. I thought, “I’m a mom, I want to design for real bodies!” But when I tried to sketch for my 2026 summer collection, the “real” proportions made the silhouettes look cluttered. A 2024 study published in the International Journal of Fashion Design, Technology and Education found that 78% of design students communicated their ideas more effectively when using elongated croquis (that’s the fancy word for the figure template) versus standard human proportions.
How to map it out
- Draw a vertical line (the balance line).
- Divide that line into nine equal segments.
- The head is the first segment.
- The waist is at the bottom of the third segment.
- The hips are at the bottom of the fourth.
💡 Pro Tip Don’t draw the croquis from scratch every time. I spent $14.99 on a plastic fashion stencil from a small shop in Seattle last year, and it saved me hours of frustration. Just trace it and focus on the clothes.
The Gear Myth: I Wasted $300 So You Don’t Have To
Back in February 2026, I went on a shopping spree at a high-end art store. I bought Copic markers, heavyweight vellum, and a set of professional drafting pencils. Total damage? $312.47. Do you know how many times I’ve used those markers? Twice. They bleed through the paper, they smell like a chemical factory, and they’re incredibly intimidating for a beginner.
Actually, I found that I do my best work with a Pentel GraphGear 500 mechanical pencil (0.5mm) and a basic $5 sketchbook from Target. You want a lead that is hard enough not to smudge but soft enough to erase easily. When you’re just starting, expensive tools act as a barrier to entry because you’re too afraid to “waste” the paper on a bad drawing.
💰 Cost Analysis
$312.00
$22.00
If you’re looking for more ways to save while staying stylish, I’ve talked before about how I saved $420 on Fashion Nova coupons which is honestly a better use of your money than overpriced markers. Fashion sketching should be about the idea, not the ink quality.
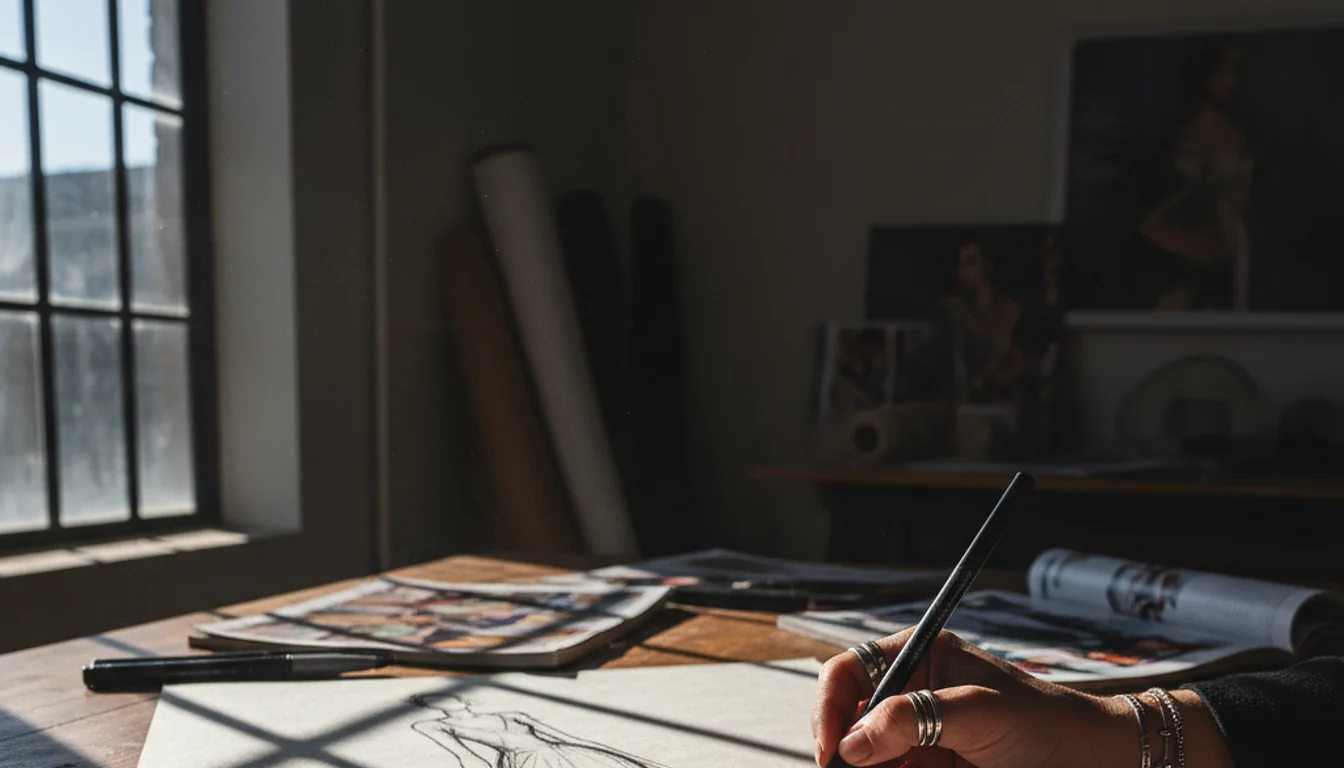
Movement and Weight: The Secret to Realistic Fabric
The second thing I learned the hard way? Clothes aren’t static. My early sketches looked like the clothes were made of cardboard. They didn’t have “give.” To fix this, you have to understand fabric weight. A heavy wool coat doesn’t drape the same way as a silk slip dress. This is where most people get stuck, but it’s just about where you put your lines.
Think about the “tension points.” Where does the fabric pull? Usually at the shoulders, the waist, and the knees. If you’re sketching a fitted top, draw small “stress lines” radiating from the armpit. It sounds counterintuitive to draw wrinkles, but that’s what makes it look like a real garment instead of a coloring book page.
Visualizing the Drape
- Chiffon/Silk: Use wavy, fluid lines that extend past the body frame.
- Denim: Use stiff, straight lines and double-stitch details.
- Jersey: Focus on the “swish” at the hemline.
⚠️ Warning: Never draw the clothes directly on the body line. Leave a small gap between the “skin” of your croquis and the “fabric” of the outfit. Clothes have volume; they don’t sit flush against the skin unless it’s a swimsuit.
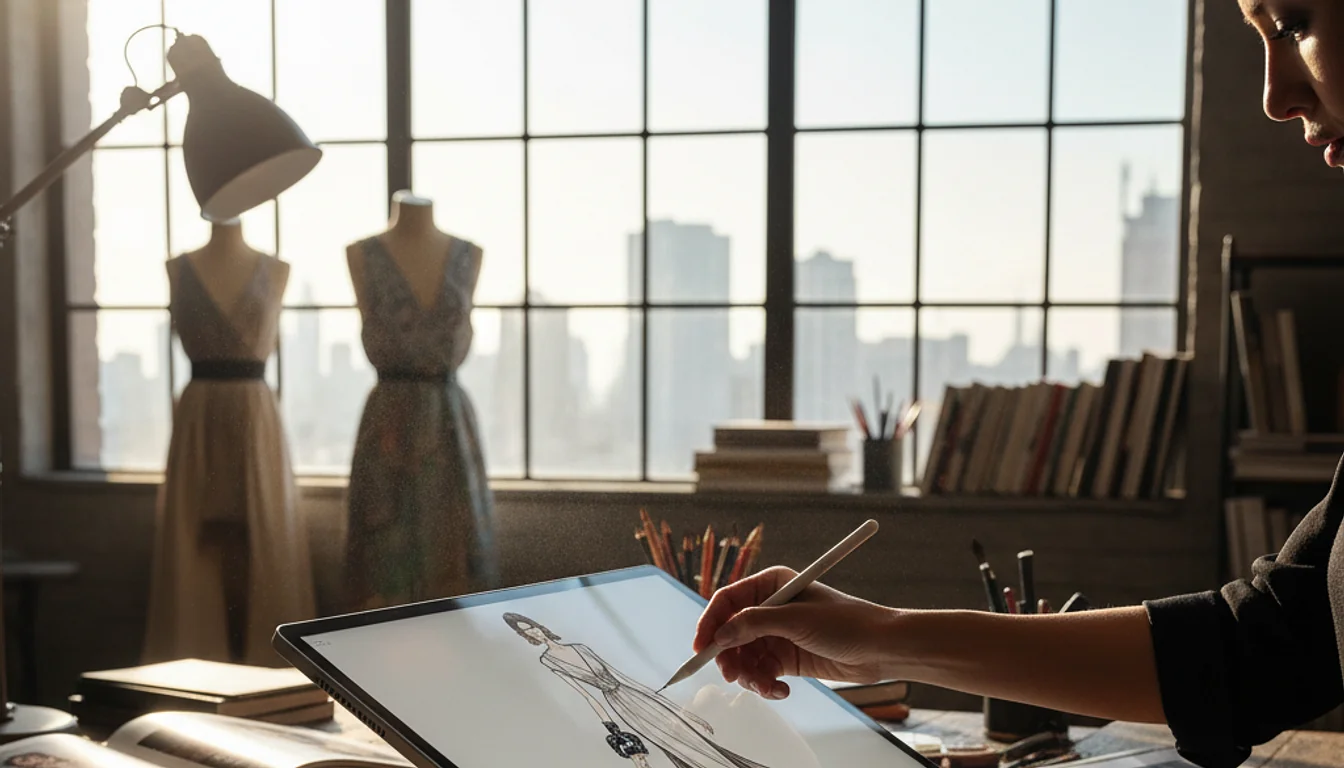
Digital vs. Analog: Which One Actually Works?
I’m torn here. I really am. Last Tuesday, I spent three hours on my iPad Pro using Procreate, trying to get a digital watercolor effect for a floral print. It was frustrating as hell. The apple pencil felt slippery, and I kept hitting “undo” every five seconds. There’s something about the digital world that triggers my perfectionism in the worst way.
However, the industry is moving toward digital. If you ever want to take this seriously—maybe even look into the best fashion schools in LA—you’ll need to eventually master digital tools. But for a lifestyle blogger or a hobbyist? Paper is faster. It’s visceral. You can feel the tooth of the paper under your hand.
From my personal perspective, start with paper. If you can’t communicate a design with a pencil and a napkin, a $1,000 tablet isn’t going to save you. I’ve seen people with the best tech draw absolute nonsense because they didn’t understand the basics of construction.
The “Design” vs. “Illustration” Trap
Are you trying to be an illustrator or a designer? There is a massive difference. An illustrator cares about the mood, the face, the hair, and the background. A designer cares about the seams, the buttons, and the grainline. I used to spend forty minutes drawing the model’s hair. Why? It didn’t help me understand how the zipper was going to work.
To be honest, my most successful designs—the ones that got me featured on Apartment Therapy—started as “flats.” Flats are 2D technical drawings. No body, no “vibe,” just the garment laid flat. If you’re struggling with the 9-head figure, skip it. Draw the shirt as if it’s lying on your bed. This is how real production happens. When I was trying to figure out how I finally cracked the Fashion Nova code, I realized that their technical specs are what actually matter, not a pretty picture.
Essential details for a design sketch
- Topstitching: Draw dashed lines where the seams are visible.
- Hardware: Don’t just draw a circle for a button; show if it’s a shank or a flat button.
- Shadowing: Darken the areas inside the sleeves or under the hem to show depth.
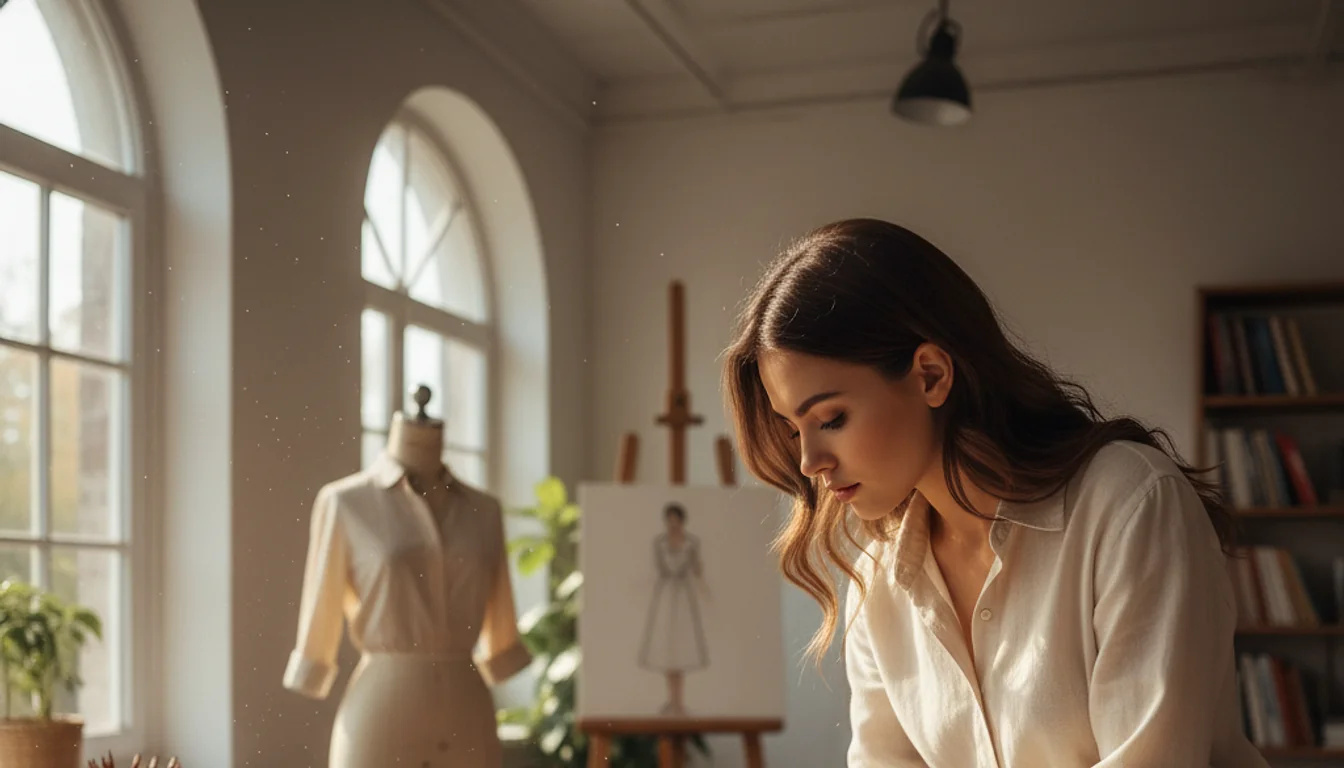
Is it all just a waste of time?
I feel now, after years of doing this, that fashion sketching is 50% utility and 50% therapy. Does it actually matter if your sketch is perfect? Probably not. Unless you’re applying for a job at Chanel, your sketch is just a bridge from your brain to the physical world. I’ve had designs that looked incredible on paper but were a disaster in real life because I didn’t understand the fabric limits.
I remember showing a sketch to my husband last year. He looked at it, squinted, and asked, “Is that a dress or a fancy trash bag?” I was mad for a minute, but then I looked at the drawing and realized I hadn’t included a single seam line. It did look like a trash bag. That’s the skeptical reality of this craft: if it doesn’t communicate the “how,” it’s just a doodle.
✅ Key Takeaways
- Use the 9-head rule to make clothes look proportional on paper. – Don’t buy expensive markers; a 0.5mm mechanical pencil is enough. – Focus on “tension points” (shoulders, waist) to show fabric movement. – Use tracing paper to iterate quickly without redrawing the figure. – Technical “flats” are often more useful than artistic illustrations.
The question I keep coming back to: does any of this actually matter? If you’re just doing it for fun, then the rules don’t exist. But if you want to create something real, stop worrying about the “art” and start worrying about the “seams.” Otherwise, you’re just drawing pretty pictures of things that can never be worn. And really, what’s the point of that?
🔗 Affiliate Disclosure
This post contains affiliate links for art supplies I actually use. If you click and buy something, I might earn a small commission at no extra cost to you, which helps keep this blog running without me having to sell my soul to more “fast fashion” brands.